Frontpage
Back
Navigation
ClusterHat Fig03
«
Previous
|
Images
|
Next
»
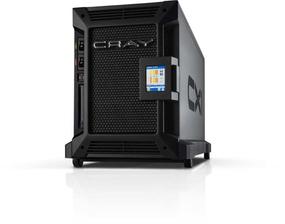
Figure 3: Cray CX1 (image by permission of Digital Engineering 24/7 magazine).