« Previous 1 2 3 4 Next »
Rancher Kubernetes management platform
Building Plans
K3s
The K3s authors make it very easy to get their software onto your system by simply running the following command on each machine designated as a Rancher server:
$ curl -sfL https://get.k3s.io | sh -s - server --datastore-endpoint="mysql://<User>:<Password>@tcp(<Host>:3306)/<Database>"
In doing so, replace <User>, <Password>, <Host>, and <Database> with your MySQL database credentials. Assuming that the username is rancher
, the password is secret
, and the database name is rancher
, the command would be:
$ curl -sfL https://get.k3s.io | sh -s - server --datastore-endpoint="mysql://rancher:secret@tcp(10.42.0.1:3306)/rancher"
This command only works if the system has access to the Internet – although it's not absolutely necessary for Rancher because the software can be operated via a proxy server or without a network connection in air gap mode. However, describing installation variants is beyond the scope of this article, so check out the Rancher documentation [3] if you need more information.
On all future Rancher servers, after successfully invoking the installation command, the
sudo k3s kubectl get nodes
command should output a list of all Rancher servers in the setup. If the list shows all machines (two servers in this example), the K3s setup has worked.
Note that the K3s tool is specific to K3s. You might want to access the K3s cluster with the standard kubectl tool, too. To this end, K3s creates the /etc/rancher/k3s/k3s.yaml file during installation. Every user will want to copy this to ~/.kube/config, but before this happens, you need to edit the file, because the host to be controlled in the file is set to localhost by default.
In the YAML file, replace the server entry value with the DNS name pointing to the load balancer. After doing so, the
kubectl get pods --all-namespaces
command should work. If so, K3s is ready for the Rancher installation.
cert-manager
Because I want Rancher in the example to obtain its SSL certificates automatically with Let's Encrypt, I also need to install cert-manager. Of the several commands to help you do this, the command
# kubectl apply -f https://github.com/jetstack/cert-manager/releases/download/v1.5.1/cert-manager.crds.yaml
installs the Custom Resource Definitions required for cert-manager in the local K3s instance, and the command
# helm repo add jetstack https://charts.jetstack.io
adds the Helm directory for cert-manager to the K3s instance. The commands
# helm repo update
# helm install cert-manager jetstack/cert-manager --namespace cert-manager --create-namespace --version v1.5.1
update the local metadata of all configured Helm directories and drag cert-manager into the local K3s installation. If everything works, the call
# kubectl get pods --namespace cert-manager
shows the running containers.
Installing Rancher
The Rancher developers also distribute their product as a Helm chart. Remember that the Helm package manager (Figure 3) for Kubernetes lets you deliver metadata and images in a standardized format. Like normal distribution packages, Helm charts can be obtained from different directories.
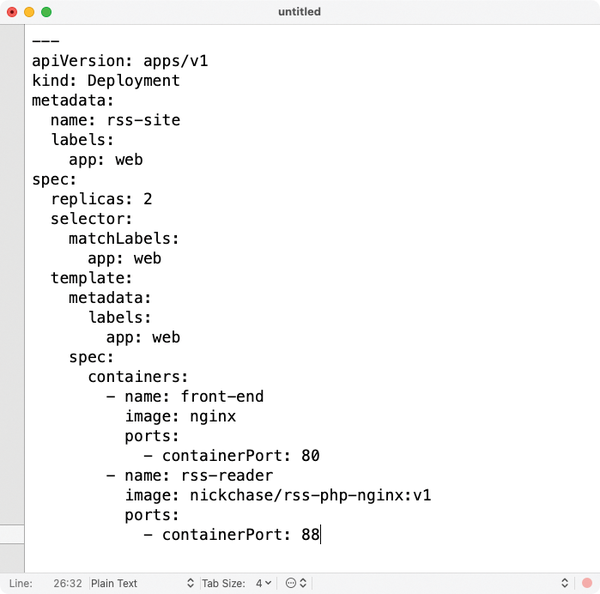 Figure 3: Helm is a package manager for Kubernetes and works much like the established package managers for rpm and dpkg by bundling image metadata and images so they are downloadable as a whole.
To begin, add the Helm directory of the Rancher project to your K3s installation, create a namespace in K3s in which all Rancher services will run, and update the metadata of the available Helm charts again:
# helm repo add rancher-latest https://releases.rancher.com/server-charts/stable
# kubectl create namespace cattle-system
# helm repo update
Now you can create a running Rancher cluster:
# helm install rancher rancher-latest/rancher --namespace cattle-system --set hostname=<Host> --set replicas=3 --set ingress.tls.source=letsEncrypt --set letsEncrypt.email=<Email> --set letsEncrypt.ingress.class=nginx
Be sure to replace <Host> und <Email> with the correct values. Next, you can track progress with the command:
# kubectl -n cattle-system rollout status deploy/rancher
It can take a while to complete. When done, the command
# kubectl -n cattle-system get deploy rancher
should show you a deployment with three available instances; the Rancher installation is complete.
If you now open the URL that contains the address of the load balancer, you are automatically taken to the installation's login page. During deployment, Rancher displays the user data at the command line, but the first time you log in to the web interface, Rancher will force you to change the password. If you were unable to make a note of the password during installation, the command
# kubectl get secret --namespace cattle-system bootstrap-secret -o go-template='{{ .data.bootstrapPassword|base64decode}}{{ "\n" }}'will request it again.
« Previous 1 2 3 4 Next »
Buy this article as PDF
(incl. VAT)
Buy ADMIN Magazine
US / Canada
UK / Australia
Related content
-
Rancher manages lean Kubernetes workloads
 The Rancher lightweight alternative to Red Hat's OpenShift gives admins a helping hand when entering the world of Kubernetes, but with major differences in architecture.
 - SUSE Acquires Rancher Labs
-
Five Kubernetes alternatives
 Many admins consider Kubernetes the obvious choice for managing containers; however, don't ignore the highly efficient alternatives just because they are less prominent.
 - SUSE Announces Rancher Prime 3.0
-
Dig Deep into Kubernetes with StatusBay
 StatusBay lets you see exactly what is going on behind the scenes when you run a Kubernetes command.
Subscribe to our ADMIN Newsletters
Subscribe to our Linux Newsletters
Find Linux and Open Source Jobs
Most Popular
Support Our Work
ADMIN content is made possible with support from readers like you. Please consider contributing when you've found an article to be beneficial.
