
Lead Image © Icetray, fotolia.com
Automated builds using CentOS 7 and Kickstart
Rapid Install
Automating builds can have a huge effect in time savings when building new Linux servers and workstations. However, time is not the only advantage; automated builds can also ensure you meet PCI data security standards (DSS), internal audits, patching requirements, and other security controls and measures that make up the reality of today's system administrator's responsibilities.
Automating builds using Kickstart [1] comprises two key parts: booting the system off the network and installing the system. The booting portion typically involves DHCP relaying and PXE boot network support, which is beyond the scope of this article, so I will focus on the automated system installation.
Installing CentOS 7
The first step in building out a Kickstart infrastructure is to install the CentOS 7 operating system on the Kickstart server. The X Window system is not needed, so the hardware doesn't need to be high end; however, a faster system with a good network connection will make standard builds quicker. Here are the steps involved in installing CentOS 7:
1. Download the ISO [2].
2. Burn the ISO to DVD.
3. Configure the server to boot from DVD.
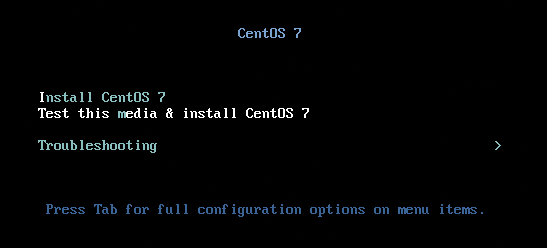
4. Start the install. Once the server boots, you'll see the Install CentOS 7 prompt (Figure 1).
Buy this article as PDF
(incl. VAT)
Buy ADMIN Magazine
Related content
-
Warewulf Cluster Manager – Master and Compute Nodes

The Warewulf stateless cluster tool is scalable and highly configurable, and it eases the installation, management, and monitoring of HPC clusters.
-
Managing Linux systems with Spacewalk
 As your network grows, managing Linux systems manually becomes time consuming and impractical. Enter Spacewalk: an open source tool that takes the footwork out of network management.
 -
Automation with PXE Boot
 We show how to save time and stress by automating your system installations with PXE boot.
 -
Real-World HPC: Setting Up an HPC Cluster

Setting up a real-world HPC cluster with Kickstart, SSH, Son of Grid Engine, and other free tools.
-
Automate CentOS and RHEL installation with PXE
 Red Hat delivers an installer that lets you automate the installation of RHEL and CentOS in a preboot execution environment.
Subscribe to our ADMIN Newsletters
Subscribe to our Linux Newsletters
Find Linux and Open Source Jobs
Most Popular
Support Our Work
ADMIN content is made possible with support from readers like you. Please consider contributing when you've found an article to be beneficial.
